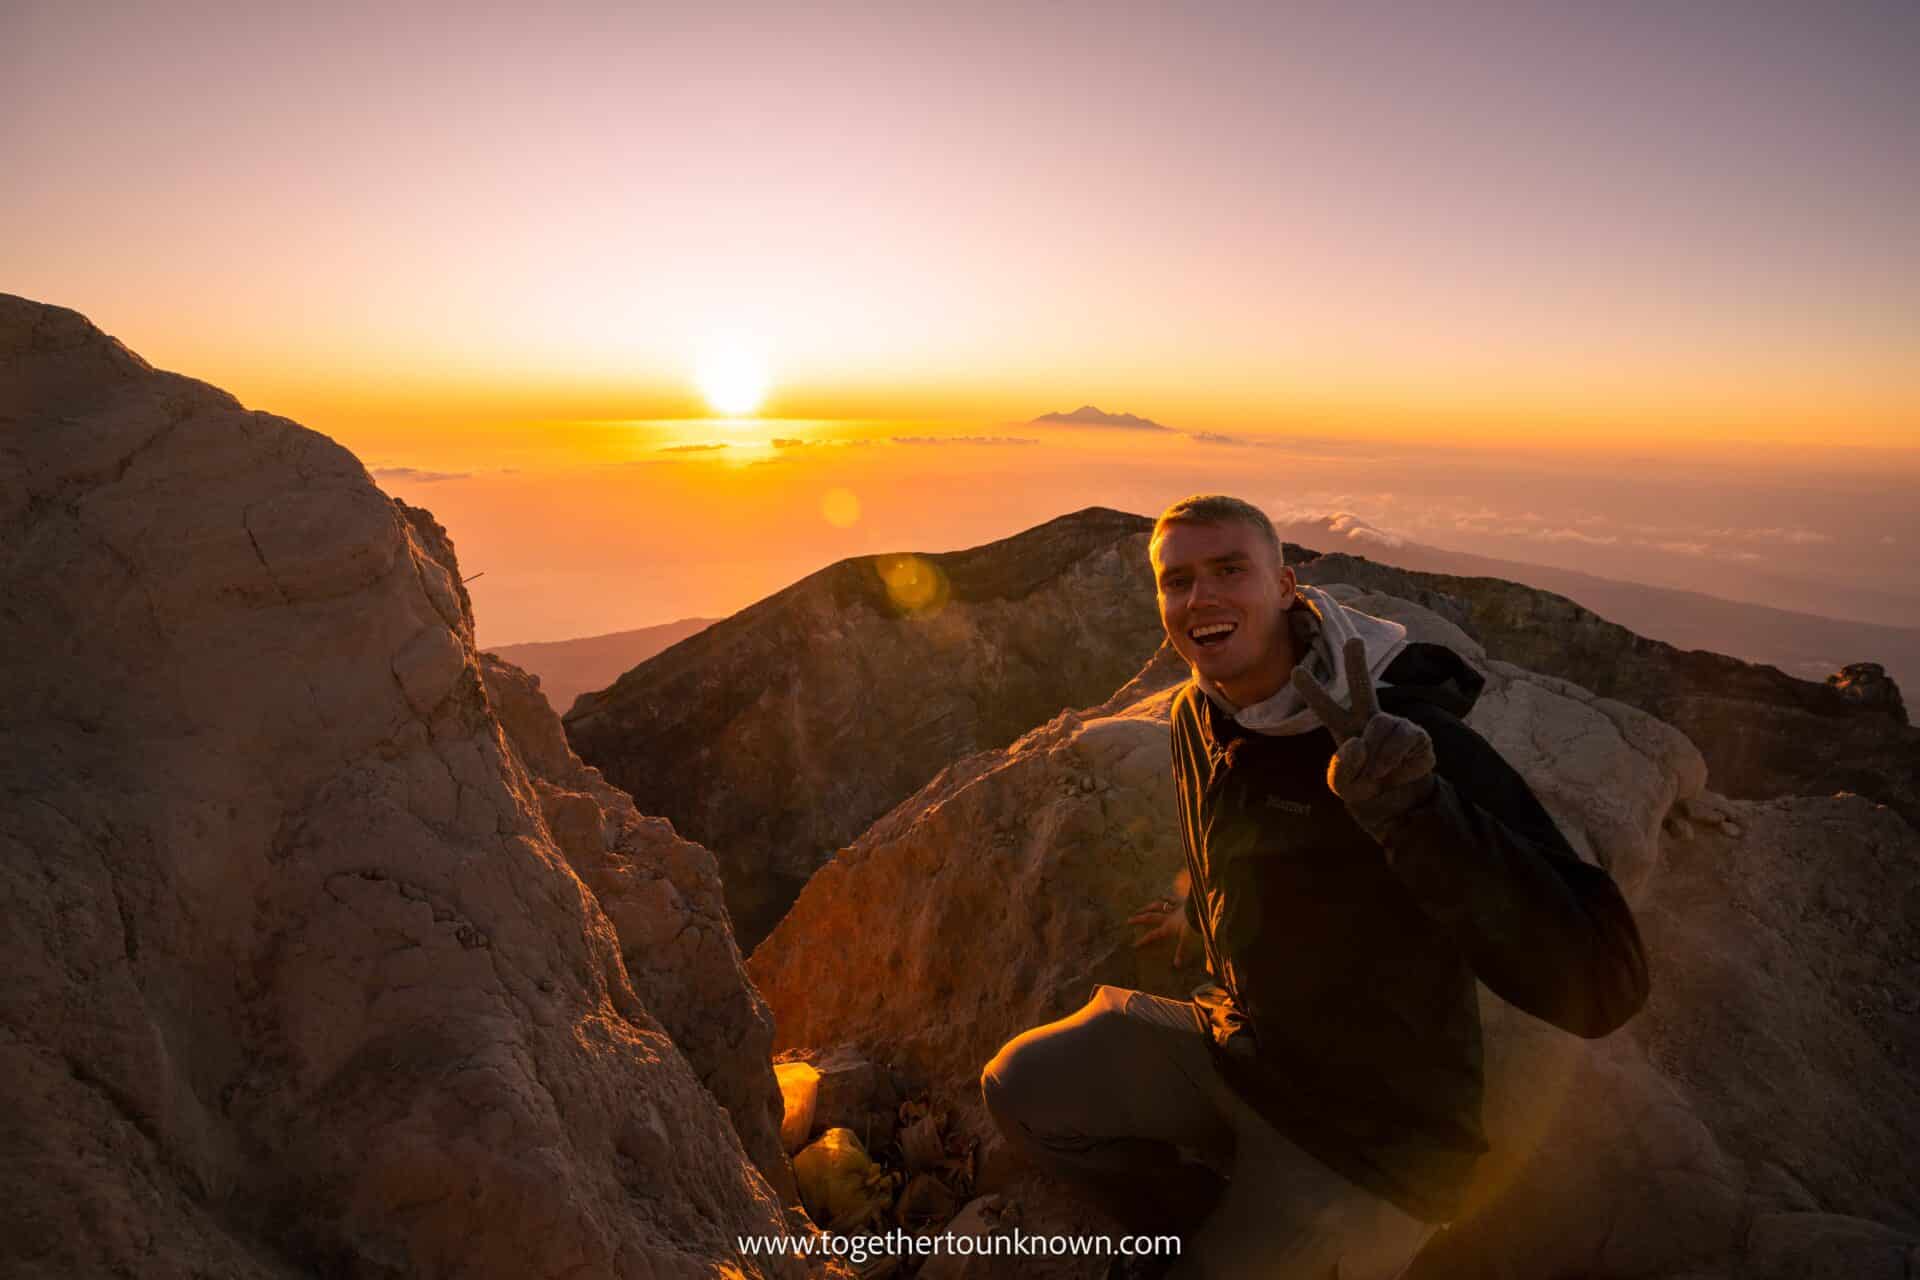
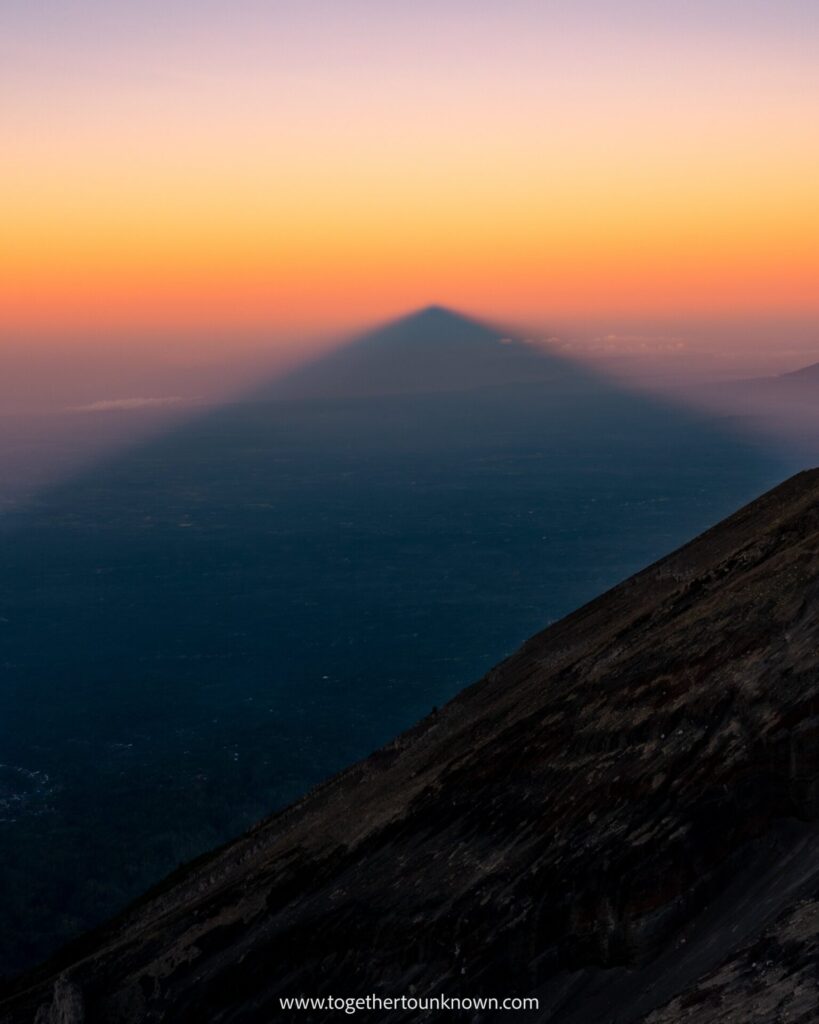
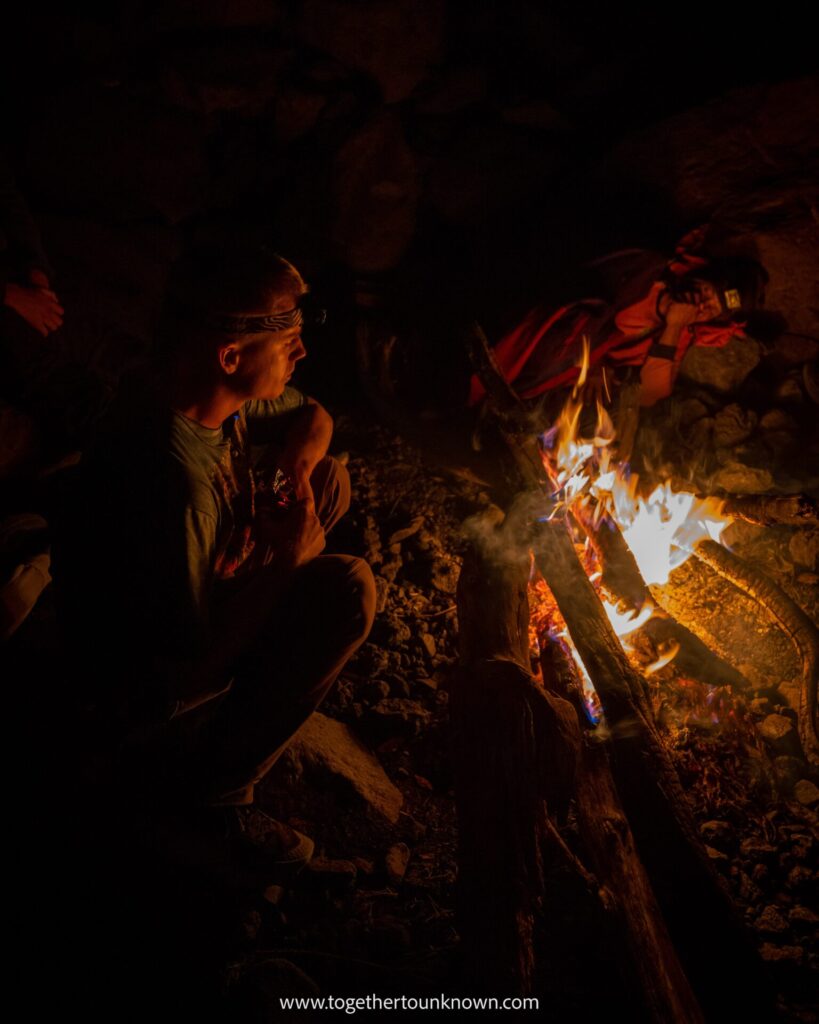
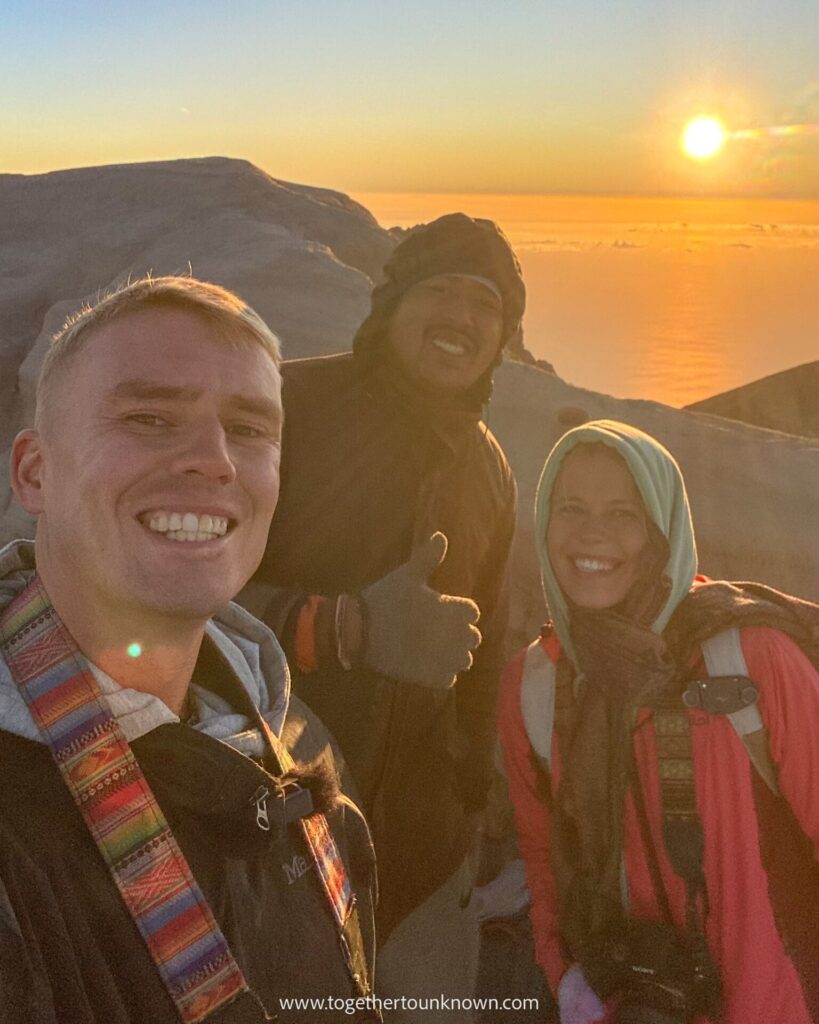
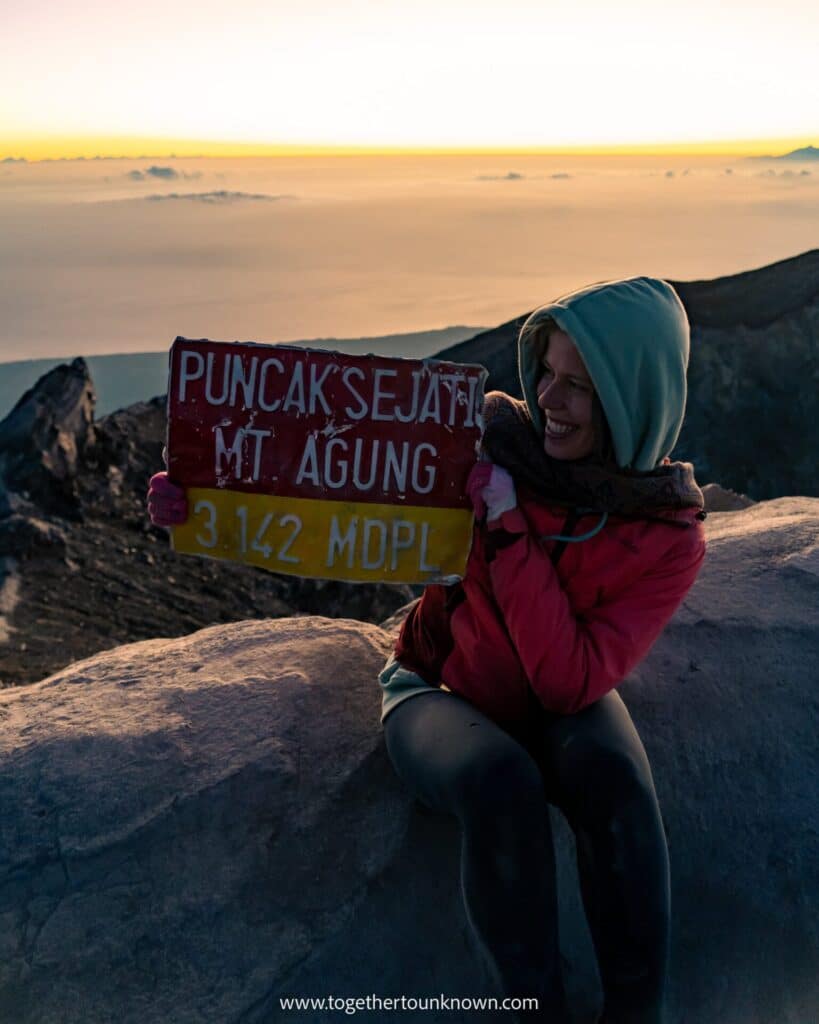
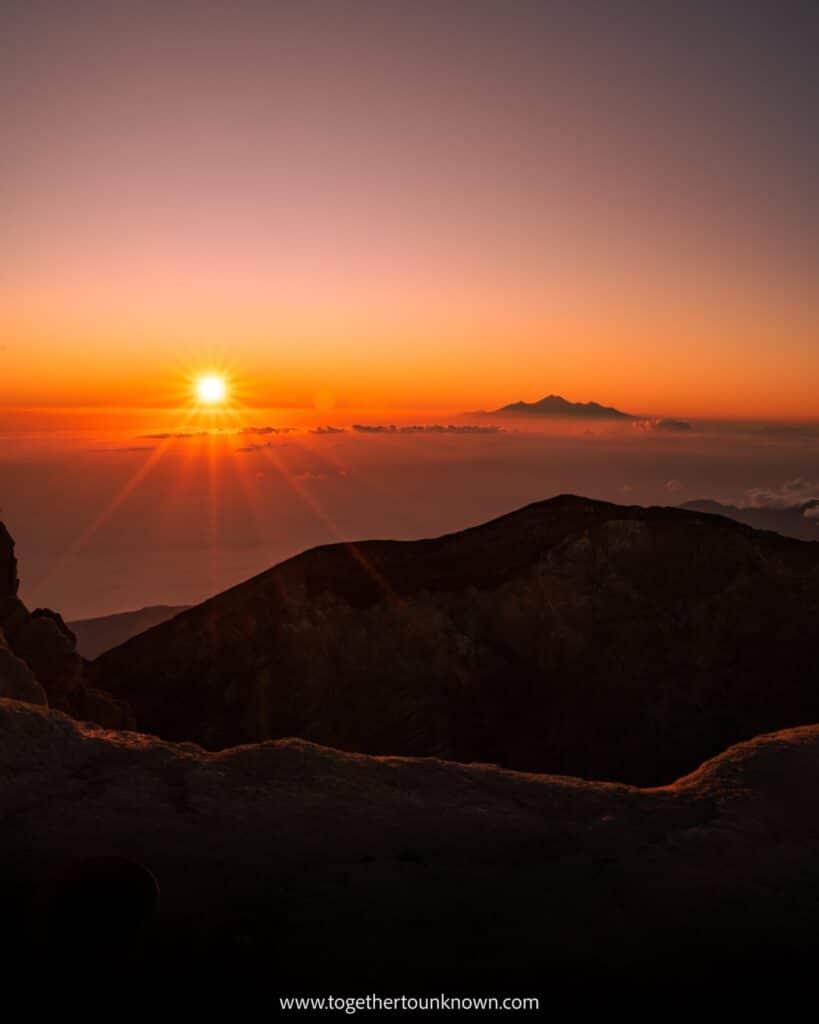
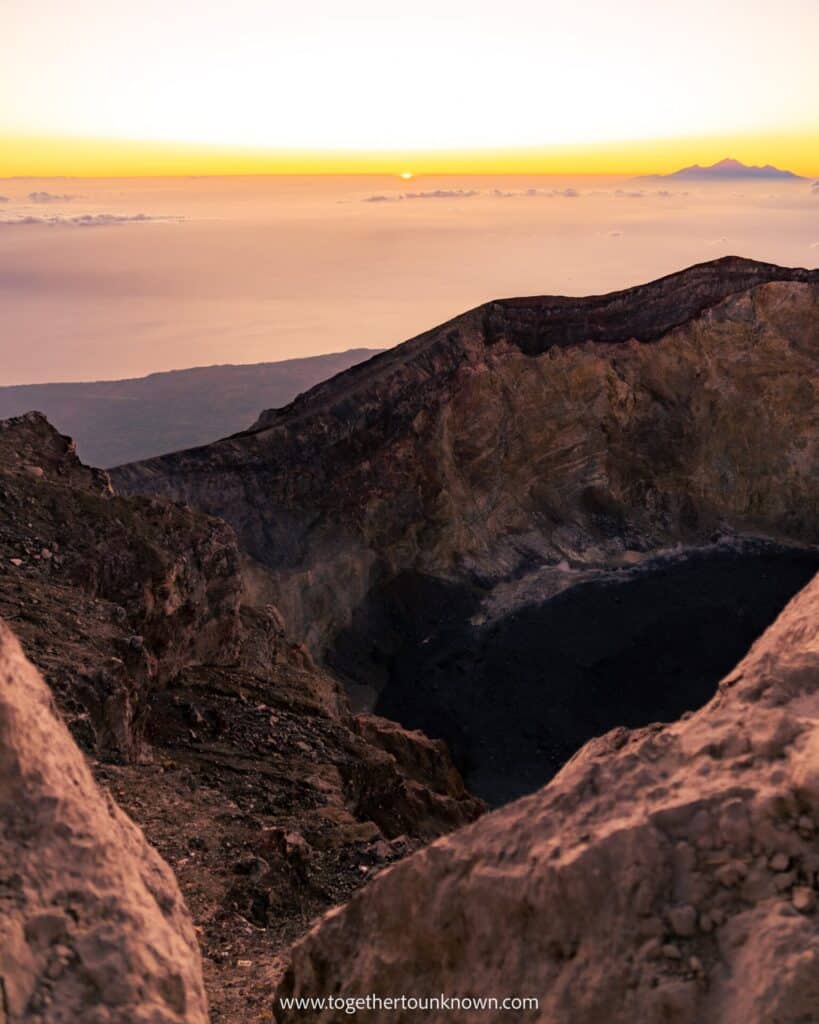
Mt Agung hike is an unforgettable adventure! Witnessing sunrise from the highest point of Bali is magical. But it has its cost. That is a rather demanding 6-8 hours long ascent. We summed up the most important information about hiking Mt Agung in Bali in this complete guide.
Plan your trip ...
If you use these links, we earn a little something but you still pay the same.

Flights – Skyscanner

Visa – iVisa

Hostel – Hostelworld

Hotel – booking.com
Best time to hike Mt Agung
Best time to hike Mt Agung is certainly during dry season between April and September. The weather is most consistent with highest chances of clear sky. Trust me, you don’t want to do this hike when it rains. Sunrise is the best time of the day since you do not ascent in scorching sun. Sunset is highly discouraged because it is really not safe to go down the mountain in the dark.

TIP: What to know before a walking holiday: choose the right footwear, check the difficulty level, and pack essentials like water and snacks.
Mt Agung hike solo vs guided
Following the trail
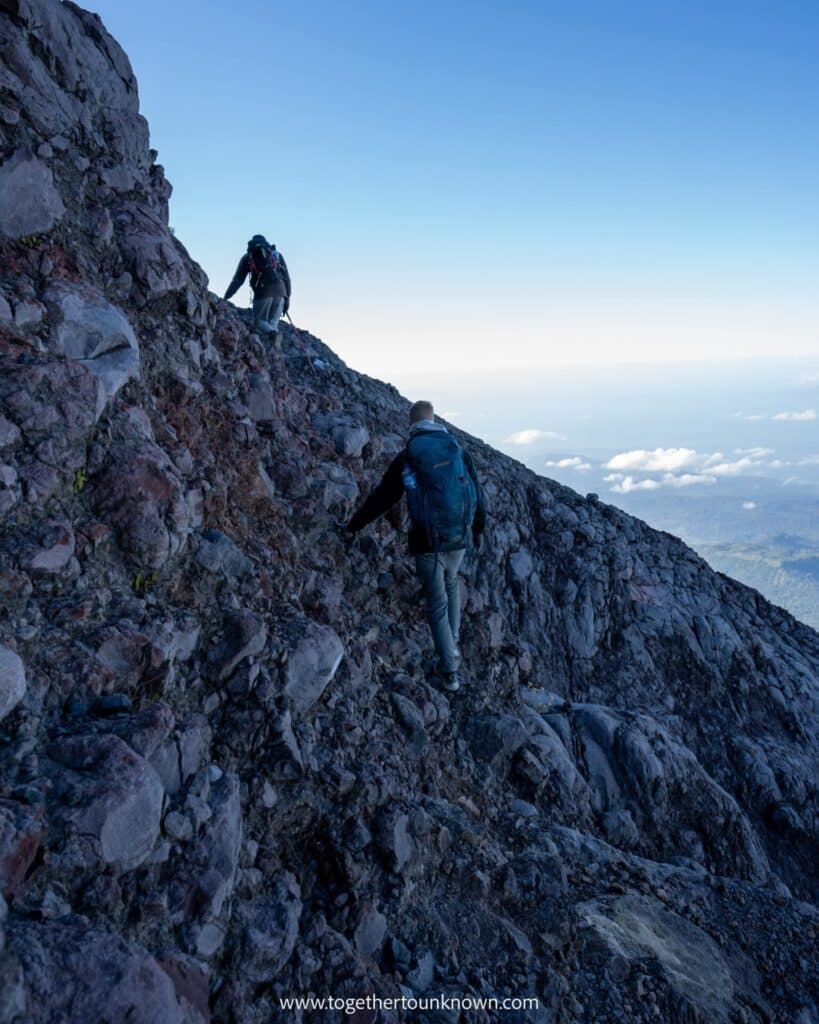
For the experienced hikers, you are probably going to consider doing this solo. We can only comment on Pasar Agung trail to either Real Summit or Crater Rim. First part in the forest is very easy to follow. But later it might seem like it’s just pile of rocks and in many sections it was rather hard to find the way. Of course you can use maps but we got off the path a few times with our guide. You have to be really careful to navigate through many fallen rocks. Anyway, you are likely not oging to hike alone so you can always try to follow some other groups.
Local guides
Another thing to consider is the group of local guides waiting at the parking. We read many terrifying reviews where people were assaulted and threatened by the locals not to go alone. It’s exactly due to this attitude why we even considered not going just to avoid supporting people like this.
Our experience
We came to the temple parking lot when we stayed near Sidemen to check the situation. We met a nice guide who informed us about everything and gave us his phoe number. He helped us organize this trek without any of the big companies. That’s why we had the best price you can get for Mt Agung hike.
After all, we decided to go and with a guide. If only to avoid troubles with locals at the parking. For the price we were offered it was not really worth risking not getting to the top, having our bike damaged and being threatened.
What to pack
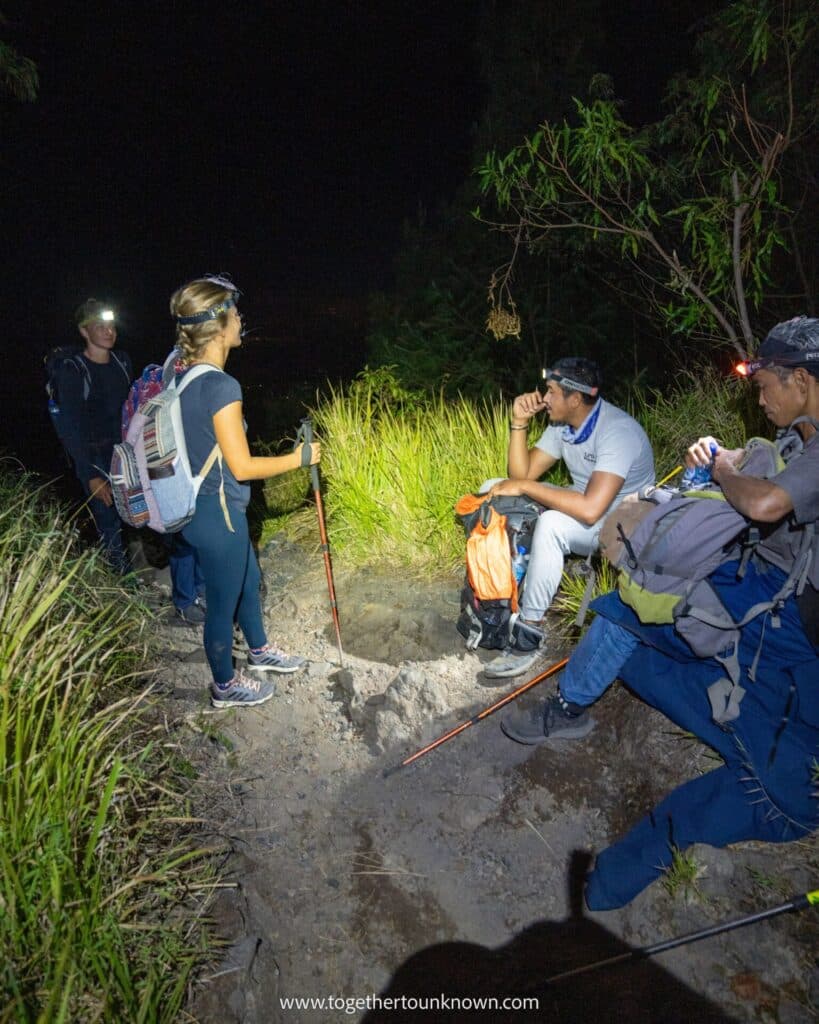
If you opt for a guided hike you will be provided with:
- headlamp (if you have your own use it, will be better for sure)
- single trekking pole
- gloves
- many snacks
- coffe or tea
Some other things we recommend bringing with you:
- enough water (2-3 liters)
- snacks
- energy drink just in case

READ NEXT: Best beaches on Bali
What to wear
You have to be prepared for many different types of weather. When you start your hike it is likely not going to be too cold. The higher you get the colder it is. At the top it might be around 7-8 degrees. It feels even colder because of strong and cold wind. If you are lucky and it’s a sunny day it’s gonna be hot on the way down. That means you must pack lot of different clothes and layers.
This is what I would recommend:
- waterproof and windproof jacket and pants
- shoes with good grip
- high socks
- short for later
- 2 T-shirts or long sleeves (one for way up, one for way down)
- warm hoodie or jacket
- raincoat
- some raincover for your bag
- scarf and a hat
- clothes to change after the hike
Where to book Mt Agung hike
Online
If you want to go with a good and reputable company we recommend booking online. It is fast and easy. You can find all the details about trek on their websites. This option is a bit more expensive. You can choose a particular company or check Get Your Guide. Below are their options.
Tour & Travel offices
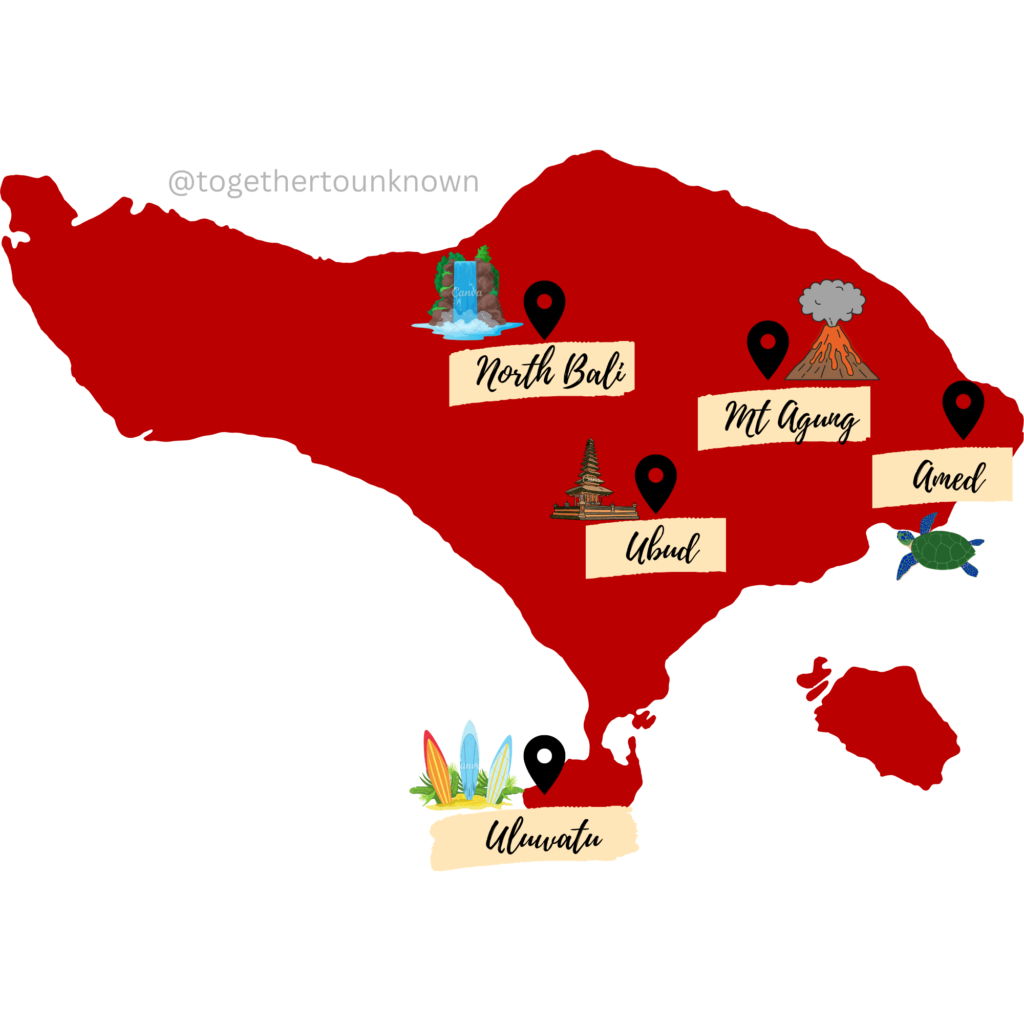
In Canggu, Kuta, Ubud, Sidemen or Amed you will find many tour offices that organize Mt Agung trek. They can also help you with a transport if you don’t have your own bike. Just make sure to go through all the details with them. It should be clear witch path you are going to take.
Directly with the local guides
The cheapest option is to book directly with the group of local guides. You can either drive to the parking before your trek and try to find someone or contact our friend Botak (+628113883812). He helped us organize amazing and friendly guide Putu who even spoke English very well.
How much does it cost to hike Mt Agung
If you book online or using tour agencies it can go as high as 150€ per person. Maybe even more. These are the prices we were offered by Botak:
- 700k for 2 from Pasar Agung to Crater Rim
- 1.2mil for 2 from Pasar Agung to Real Summit
Trail options
Crater Rim vs Real Summit
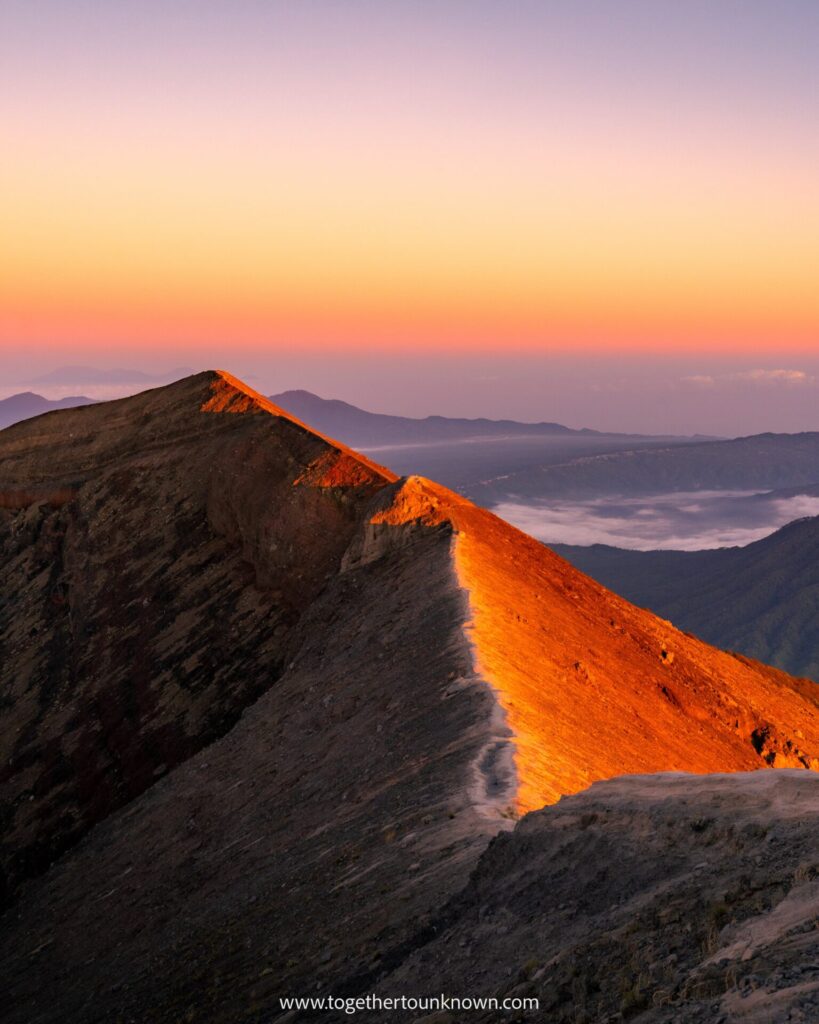
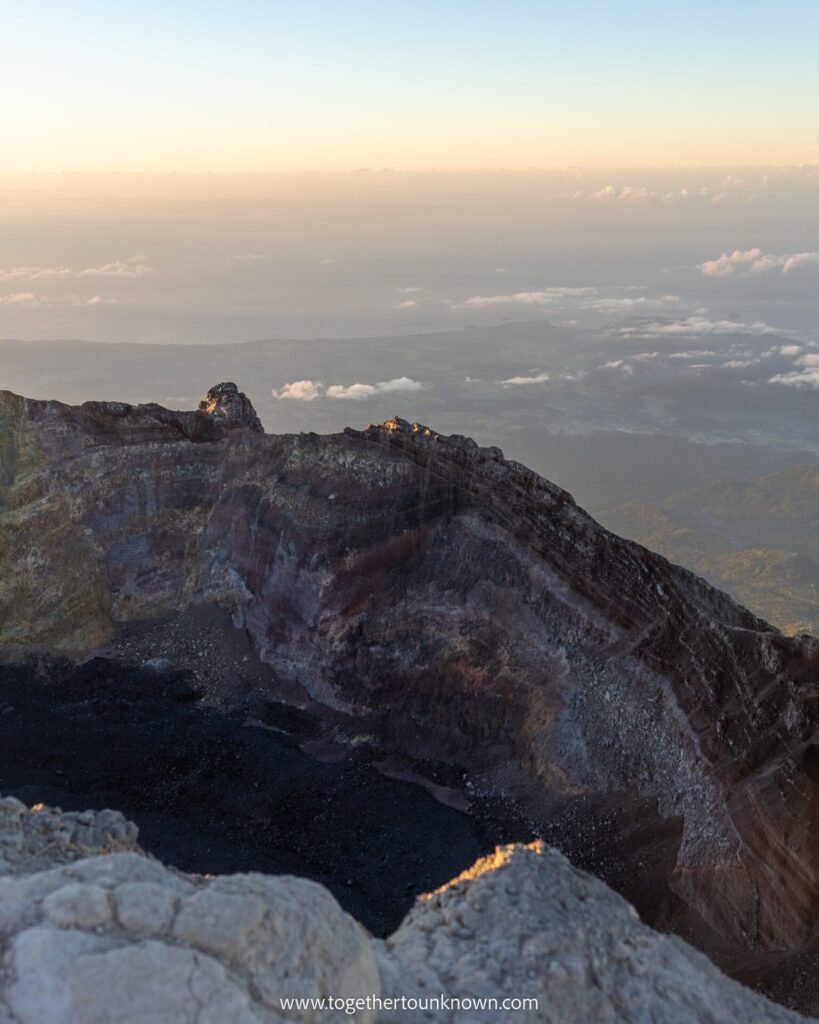
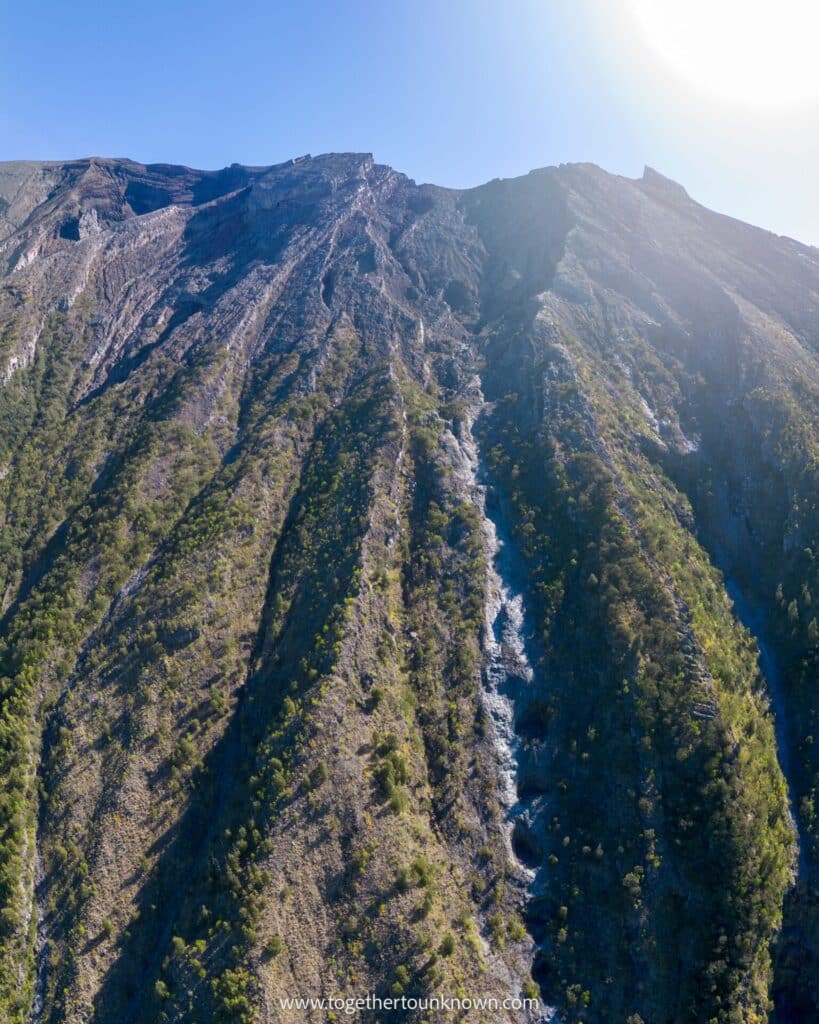
The biggest decision is whether you want to reach Real Summit (3142m) or Crater Rim (3031m). From Crater Rim you don’t have 360 views but you are closer to the crater and can see inside. The biggest advantage is that it’s the easiest option. From Real Summit you have 360 views and still can see inside the crater. You are also standing at the highest point of the island. Unless you think you can’t do it I highly recommend choosing Real Summit! It would be a pity to do such an incredible hike and not get to the real top 😀 Also the ridgeline on Real Summit is beautiful!
1. From Pura Pasar Agung to Crater Rim
Duration: 4-5 hours one way
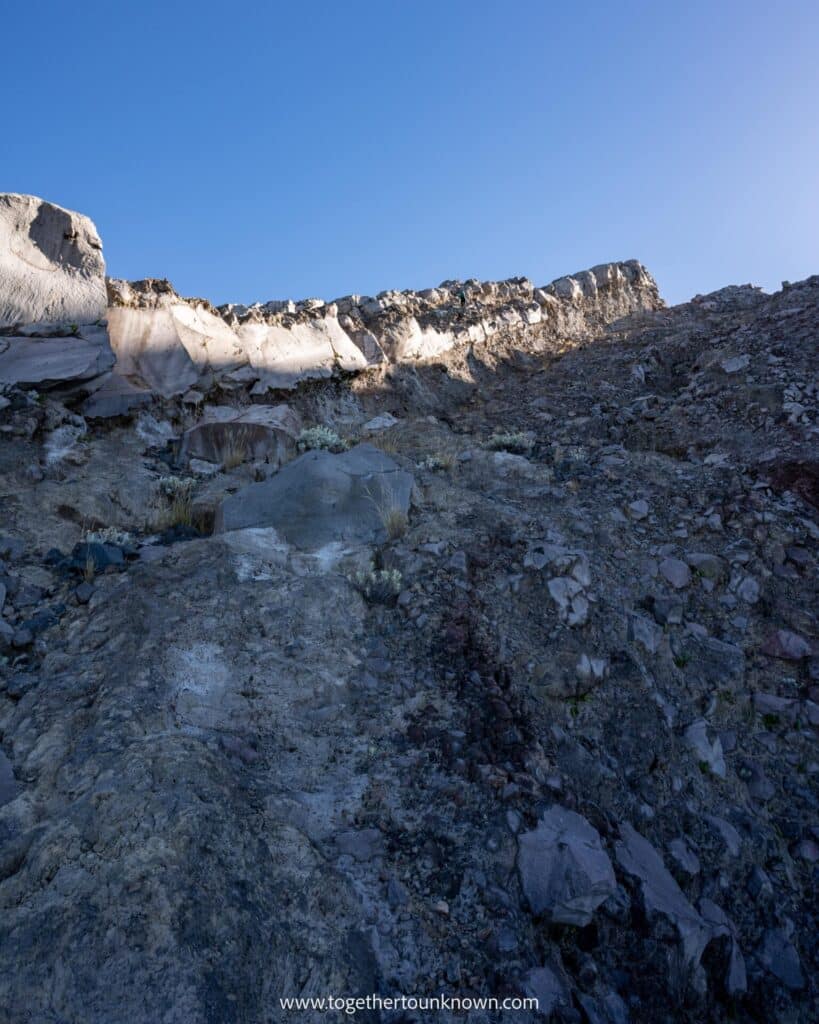
This is the cheapest and easiest option. It only take 4-5 hours to reach the Crater Rim. From the parking lot you will go through a forest for first 1.5 hour. Later it is followed by a rocky section with rather bigger and stable rocks and bigger incline. The last section is the hardest with many loose rocks and sand and the biggest incline. For this hike you start at 1am.
2. From Pura Pasar Agung to Real Summit
Duration: 6 hours one way
Hike to Real Summit starts at 23:00 or 23:30. It is more difficult and longer than Crater Rim. First 2/3 are following the same path as the hike to Crater Rim. You start in the forest, later continue on bigger rocks. At 2400m there is a crossroad – either Crater Rim or Real Summit. Advantage of this hike is that if you are tired you can still change your mind and only go to Crater Rim. The last section is more of a traverse. That’s what makes it better than starting at Besakih temple. There are few parts where you have to use your hands to „climb“.
3. From Besakih temple to Real Summit
Duration: 6-8 hours one way
Unlike when starting at Pura Pasar Agung, you don’t traverse here. It’s just a constant incline. The Besakih Temple trail is the longest option. It starts at 1200m and takes 6-8 hours. The last section is following a beautiful ridgeline.
Where to stay before Mt Agung hike
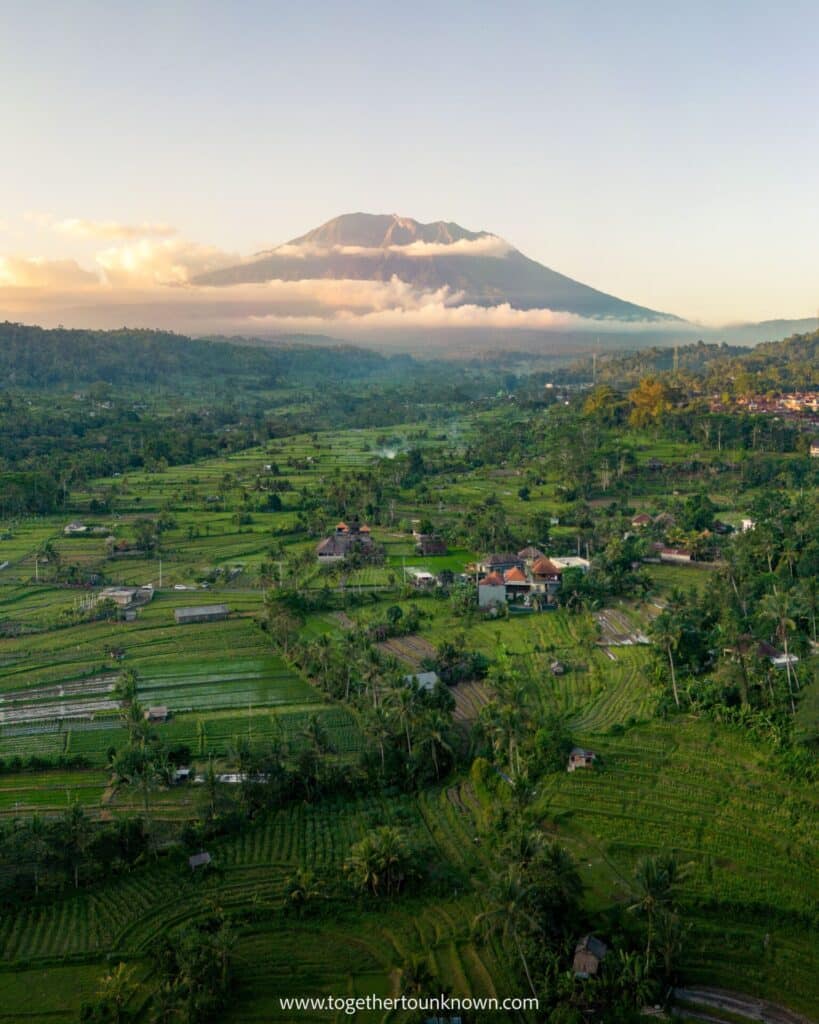
Since you have to depart really early for Mt Agung hike we recommend staying as close as possible. We were in Sidemen and it only took us 30 minutes to reach the parking on our bike. If you prefer to have a car transport it might be fine from anywhere since you can sleep on the way.

